
My friend Claire, the mother of my goddaughter Morgan, asked me to develop a recipe that she and Morgan could make together. I decided to make it fun, colourful, tactile, a little bit messy – and mildly educational.
Disclaimer: These biscuits do not qualify as health food. As an aunt, I’m all about the fun, not the fruit and veg.
Disclaimer: The presentation here is not exactly cookbook standard. These are biscuits for kids to make. I had to put myself in the headspace of a four-year-old as I developed this recipe. There are not many four-year-olds who are making biscuits for service at a five-star hotel high tea.
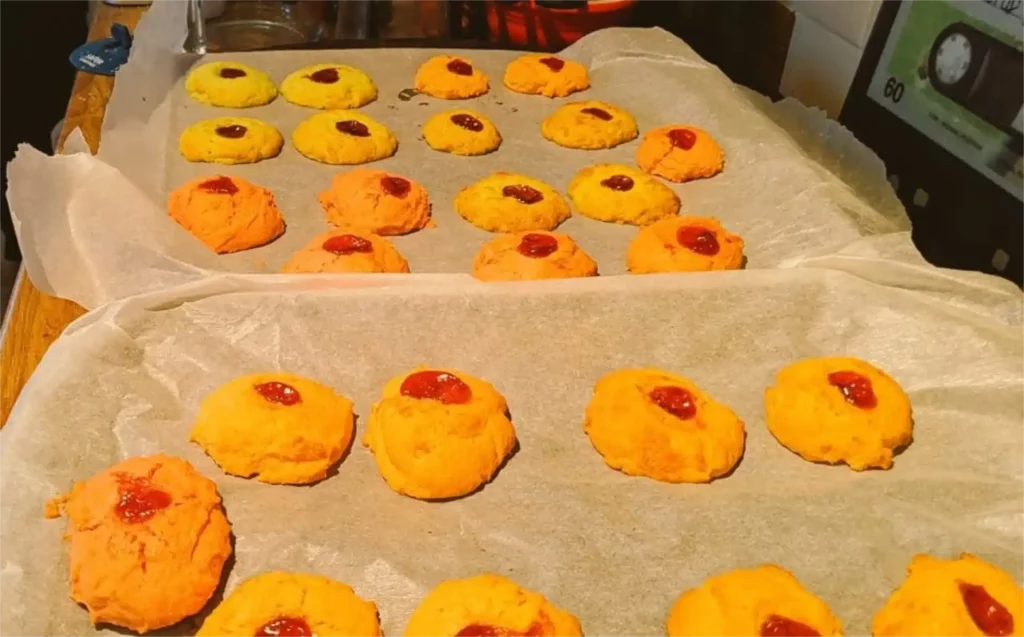
My starting point was jam drops, a recipe I was taught in high school home science classes in about 1988. They are really easy. If you want to make them without turning them into ridiculous traffic light shades because you’re not four years old, feel free to skip the food colouring step.
For Morgan, I knew I wanted to make something colourful because her favourite colour is “rainbow”. I wanted to create something that can either be mixed by hand or a parent can step in with electric beaters. And it needed to be something where she could use her little fingers.
I went for the traffic light colours of red, amber and green for these biscuits because Claire and I became friends when we were both writing about cars for a living in Dubai in about 2007. We first met on a Land Rover press trip to Herefordshire and London, which involved driving in the mud, a castle, a friend of ours convincing the staff of Browns Hotel in Mayfair that he was an actual lord and, once we’d finished driving for the day, too much wine. I’m not sure how much more responsible we are these days – since that press trip, we’ve both got married, bought houses and drive more practical cars than when we first met. But we’re still prone to being silly and I hope that never changes.
On this Easter weekend, I took my aunting skills to the next level. On Good Friday, I developed the recipe for these biscuits and made quite the mess in the kitchen. Then on Saturday, I delivered the rainbow biscuits to Morgan and to my niece Anya, along with a few Easter goodies. I left both houses before the full effects of the E number-laden biscuits had taken hold so if any chaos ensued, I can only apologise…
Rainbow biscuits
Ingredients
125g butter, softened
100g caster sugar
1 teaspoon vanilla essence or extract
1 egg
200g self-raising flour (plus a little extra if you use a powder food colouring that is mixed with water)
Red, orange and green food colouring
Seedless jam of your choice – I like to use raspberry. The jam will congeal nicely in the middle of each biscuit when it goes in the oven.
Instructions
- Preheat the oven to 180 degrees Celsius and prepare two large baking trays with baking paper. Set aside.
- In a large bowl, beat the butter and sugar together until it’s pale and creamy. Make sure the butter has softened properly, especially if you’re mixing by hand rather than using electric beaters – this is a good task for kids to do but they probably don’t need a full bicep workout.
- Add the egg and mix until well-combined.
- Sift in the flour and mix well – it should form a fairly stiff biscuit dough.
- If you want to make plain butter biscuits, skip this step. This is where the food colouring comes in. Divide the biscuit dough into three equal portions (see, I told you this recipe was mildly educational…). You can either weigh it out into three equal portions or just divvy it up into three bowls using a tablespoon. I used three breakfast cereal bowls for this bit.
- Get the first portion of dough, return it to the large bowl, add one of the food colourings and mix well. How much you add depends on how intense you’d like the colours to be. If you use the concentrated food colouring in the little squeezy bottles, you’ll find a little goes a long way. If, like me, you go rogue and use the powdered colouring that is mixed with water, you might find the dough goes a little sloppy so add a few more tablespoons of flour to fix the consistency.
- Using a tablespoon (or using little fists to measure), place the first load of coloured dough onto the baking tray in balls about an inch in diameter. Leave a few centimetres between each ball as they will expand in the oven.
- Rinse the large bowl and repeat the process with the second and third portions and the other two colours.
- Once you have a tray full of coloured balls, poke each one in the middle with an index finger to make a little, round dent. Using the tip of a teaspoon, place a little blob of jam in each dent.
- Bake for 15 minutes – they should be firm on the outside and soft in the middle. If, like me, you are not blessed with two ovens, be sure to swap the trays around halfway through baking otherwise the biscuits on the top rack in the oven will cook much faster than the ones underneath.
- Allow to cool and enjoy.